
Tools Required for iPhone Water Damage Repair
Originally published in 2016. The devices, tools and prices described reflect that period; the diagnostic approach still applies. For current pricing and turnaround, see our price list.
So, you have a water damaged iphone and you either want to get it working or get the photos off of the iphone. Where do you get started? What tools do you need? Is it worth it?
Where to get started?
First off, water damage repairs are pretty time consuming and the results are usually not very good. Especially if you want to get the phone fully operational again. With that said, if you really want to spend the time to get the phone working again, then here's what you'll need to do to get started.
- Disassemble the phone.
- Desolder the shields on the logic board.
- Take pictures of everything (through magnification if possible)
- Scrub the entire logic board with a soft bristled toothbrush and 99% isopropyl alcohol (connectors, components, etc.)
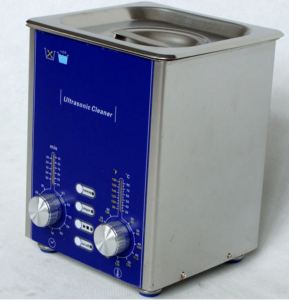
- Run the logic board through a heated frequency sweep ultrasonic cleaner for at least 20 minutes.
- Soak in 99% isopropyl alcohol for 5 minutes to get rid of the excess water.
- Towel and fan dry.
Tools Required?
Here are the minimum recommended tools to get started with your water damage repair:
Derui Degas/Sweep Ultrasonic Cleaner 2L ($179)
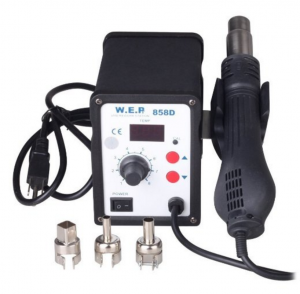
Hot Air Rework Station - Kohree 858D ($58.98)
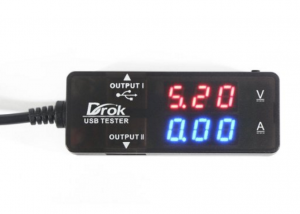
Digital USB Ammeter - Drok USB 2.0 ($10.99)
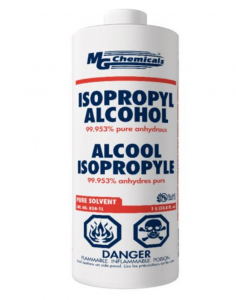
99% Isopropyl Alcohol - MG Chemicals ($20)
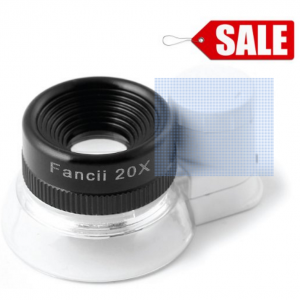
20x Eye Loupe ($16.99) - optional
Is it worth it?
Well, this is a question of how much is your time worth? I usually spend anywhere from 6-10 hours on water damaged repairs. The ROI is not great, but the repair is great for learning how to reverse engineer an iphone.